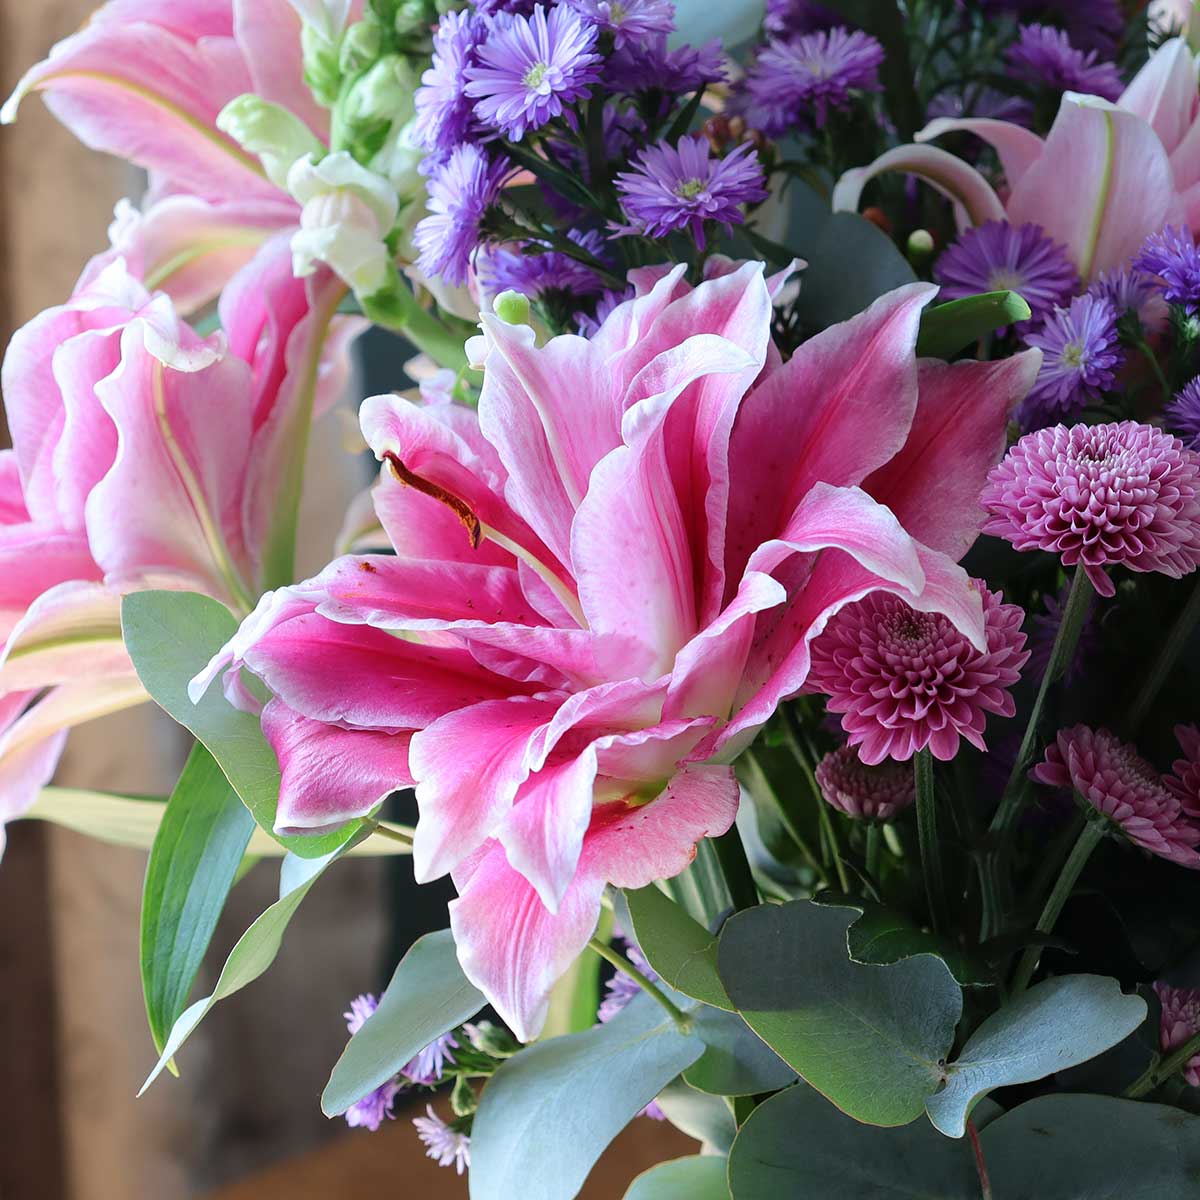
There’s something magical about capturing a flower at its peak and preserving its beauty forever. Pressed flowers can be used in handmade cards, framed as art, or even kept as sentimental keepsakes. At The Blossomist, we believe that working with flowers should feel both creative and calming - so here’s a simple guide to pressing flowers, using a few different methods, plus our top tips for the best results.
What You’ll Need
- Fresh flowers (avoid thick or fleshy ones).
- Scissors or secateurs.
- Absorbent paper (blotting, parchment, or even coffee filters).
- Heavy books, a flower press, or household tools like an iron or microwave.
- Patience (unless you’re choosing the quick methods!).
Method 1: The Traditional Book Press
This is the most common way to press flowers - and requires nothing more than a heavy book and time.
- Choose the right flowers: Flat blooms like pansies, daisies, and ferns work best.
- Prepare: Trim stems and gently blot away moisture.
- Arrange: Place flowers between two sheets of paper inside a heavy book.
- Press: Close the book and add more books or weights on top.
- Wait: Leave for 2-3 weeks without disturbing them.
✨ Best for: Preserving colour and detail with a traditional, low-effort approach.
Method 2: Flower Press
If you want more reliable results, a flower press is worth the investment.
- Layer flowers between absorbent sheets inside the press.
- Tighten the screws to apply even pressure.
- Leave for 1-2 weeks, checking occasionally.
✨ Best for: Dedicated crafters who want consistent, long-lasting results.
Method 3: Microwave Pressing
If you can’t wait weeks, the microwave method speeds things up to just minutes.
- Place flowers between absorbent paper, then sandwich inside a microwave-safe dish or use a special microwave flower press.
- Heat on low power for 30 seconds at a time.
- Check carefully and repeat until dry and flat.
⚠️ Tip: Go slowly - too much heat can scorch or brown petals.
✨ Best for: Quick results when you need pressed flowers the same day.
Method 4: Ironing Flowers
Another speedy method using an iron:
- Arrange flowers between sheets of absorbent paper.
- Place on a hard surface and set your iron to a low, dry setting (no steam).
- Press down firmly for 10-15 seconds, lift, and repeat until flowers are flat and dry.
⚠️ Tip: Don’t slide the iron - it can damage delicate petals.
✨ Best for: Craft projects when you need pressed flowers immediately.
Top Tips for the Best Results
🌸 Pick flowers on a dry day: Avoid dew or rain.
🌸 Choose fresh blooms: Wilting flowers won’t press well.
🌸 Change paper if needed: Especially for juicy flowers.
🌸 Store in the dark: To help prevent fading.
🌸 Experiment with leaves & grasses: They can be just as beautiful as blooms.
Final Thoughts
Whether you love the slow satisfaction of traditional pressing or the instant gratification of quick methods, preserving flowers is a wonderful way to celebrate their fleeting beauty. Try experimenting with all four approaches - you might find one that suits your style (and patience level!) best.

